How To Needle Felt Sugar Glider
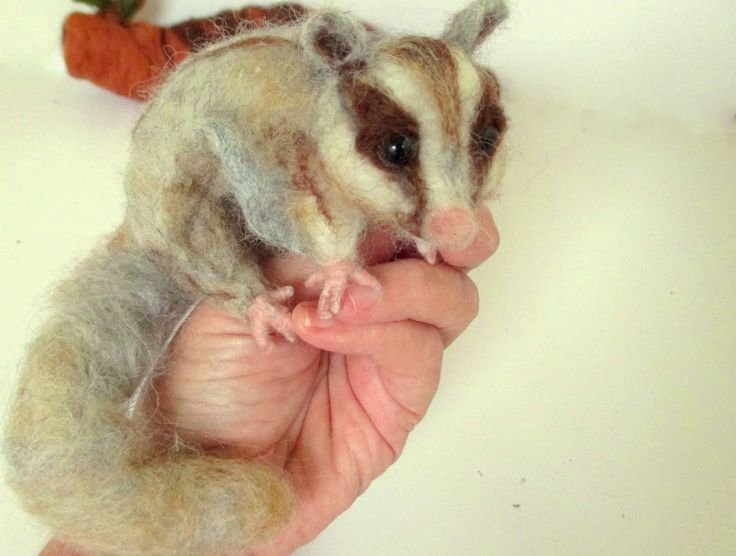
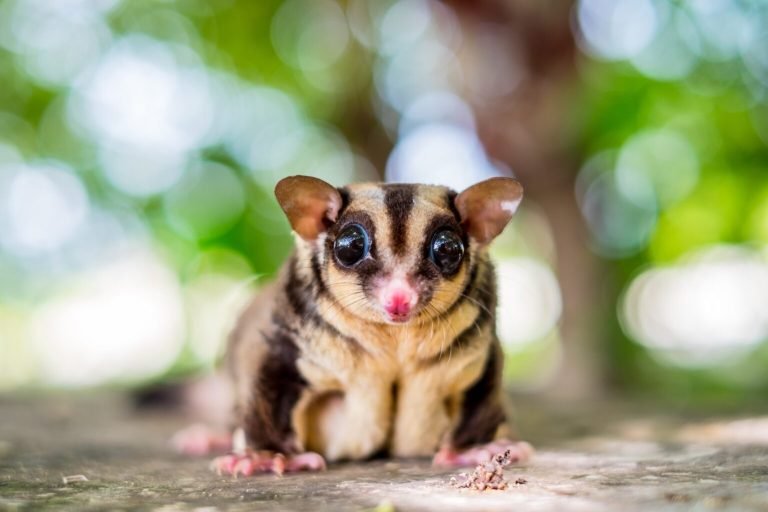
Needle felting is a popular craft that allows you to create adorable and fuzzy creations using wool and a special tool called a felting needle. One of the cutest animals to needle felt is the sugar glider, a small marsupial known for its big eyes and ability to glide through the air. If you’re interested in bringing these adorable creatures to life through needle felting, you’re in the right place. In this article, we’ll take you through the step-by-step process of needle felting a sugar glider.
What you’ll need:
– Felting wool in various colors: gray, brown, white, and black
– Felting needles in different sizes
– Felting mat or foam pad
– Wire or pipe cleaners
– Craft glue
– Scissors
1. Gather your materials
Before you begin needle felting your sugar glider, make sure you have all the necessary materials. Felting wool is available in various colors, so choose the shades that closely match the colors of a sugar glider. You’ll also need felting needles in different sizes to achieve different levels of detail and precision in your work. A felting mat or foam pad will serve as a surface to work on, and wire or pipe cleaners will be used to give your sugar glider structure. Craft glue and scissors will come in handy for attaching any additional details or trimming excess wool.
2. Research and reference
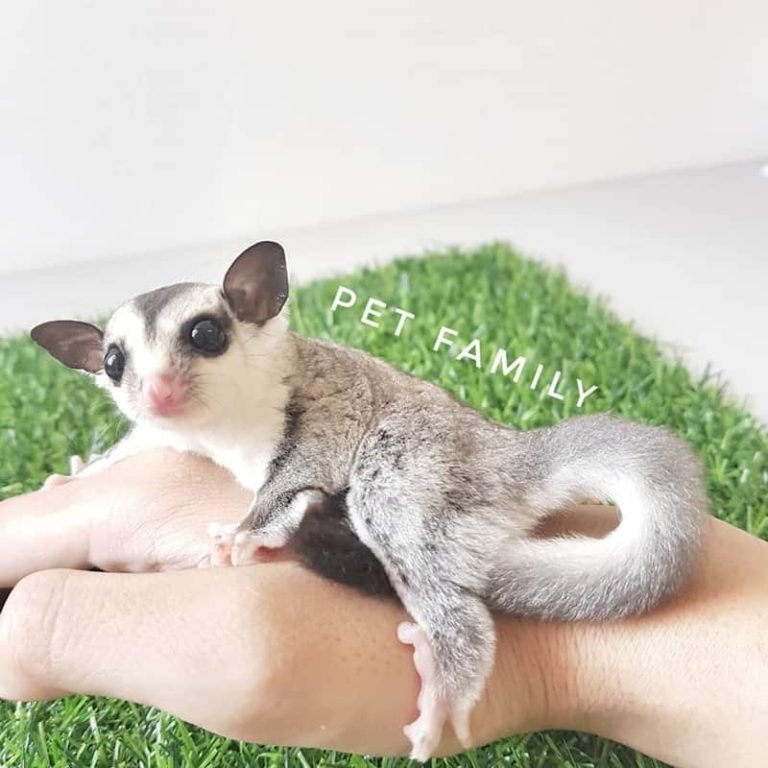
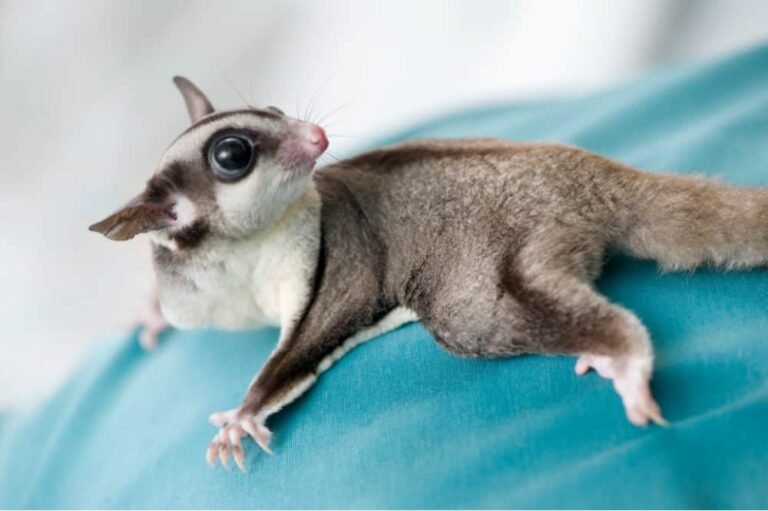
To needle felt a realistic sugar glider, it’s helpful to have some reference images for guidance. Look up photos of sugar gliders from different angles to understand their proportions, fur patterns, and distinctive features. Pay close attention to the shape of the body, the position and size of the eyes, and the texture of the fur. This will help you create an accurate and lifelike representation of a sugar glider through needle felting.
3. Build the wire armature
Start by building a wire armature that will serve as the structure for your needle-felted sugar glider. The armature will ensure that your creation stands upright and holds its shape. Cut and bend the wire into a basic outline of the sugar glider’s body, including the limbs and tail. Make sure to leave extra wire at the bottom of the feet for stability. Once you have the basic shape, wrap the arms, legs, and tail with pipe cleaners to give them some bulk.
4. Start felting the body
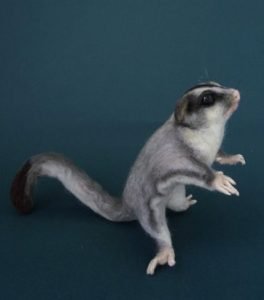
Begin by felting the body of the sugar glider. Take a small amount of gray wool and roll it into a ball. Place the ball on the felting mat and start poking it with the felting needle. The repeated poking motion will tangle and mat the wool fibers together, creating a solid shape. Gradually shape the wool into the desired body shape, compacting it with the needle as you go. Remember to poke the wool from different angles to ensure even felting.
5. Add the facial features
Once you have the basic body shape, it’s time to add the facial features. Using small amounts of colored wool, create the eyes, nose, and mouth of the sugar glider. Roll small pieces of black wool into tiny balls for the eyes and attach them to the face using the felting needle. For the nose, use a small piece of brown wool and shape it into a triangular shape before attaching it. Use even smaller amounts of black and white wool to add details to the eyes and mouth.
6. Work on the fur texture
To give your sugar glider a realistic fur texture, use small tufts of wool and attach them to the main body. Take thin strands of gray wool and place them on the body, gently poking them with the felting needle to secure them in place. Repeat this process over the entire body, paying attention to the direction in which the fur naturally grows. Vary the length and density of the wool fibers to create texture and depth.
7. Refine the details
Now that your sugar glider is taking shape, it’s time to refine the details. Use additional wool and the felting needle to add definition to the face, ears, limbs, and tail. Create the shape of the ears by felting small tufts of gray wool onto the head. Use brown wool to add details to the ears and face, such as the fur around the eyes and on the cheeks. Take your time with this step to ensure that your sugar glider looks as lifelike as possible.
8. Finishing touches
Once you’re satisfied with your needle-felted sugar glider, it’s time to add any final touches. Trim any excess wool with scissors to refine the shape and make the fur look neater. If desired, you can use craft glue to attach small beads or sequins for the eyes to give your sugar glider a more realistic sparkle. Take a step back and admire your creation before moving on to the next project.
Frequently Asked Questions
1: How long does it take to needle felt a sugar glider?
The time it takes to needle felt a sugar glider depends on your skill level, the level of detail you want to achieve, and the amount of time you can dedicate to the project. On average, it can take anywhere from a few hours to several days to complete a needle-felted sugar glider.
2: Can I needle felt a sugar glider without a wire armature?
While it’s possible to needle felt a sugar glider without a wire armature, using one will provide more stability and structure to your creation. The wire armature helps your sugar glider stand upright and holds its shape better, especially if you plan to pose it in different positions.
3: Can I use different colors for my needle-felted sugar glider?
Absolutely! You can choose any colors you like for your needle-felted sugar glider. While gray, brown, white, and black are the typical colors associated with sugar gliders, feel free to get creative and add your personal touch to your creation.
Final Thoughts
Needle felting a sugar glider can be a fun and rewarding craft project. Through the process of stabbing and shaping wool, you can bring these adorable creatures to life with your own hands. Remember to take your time, reference photos for accuracy, and have fun with the details. With a little practice and patience, you’ll soon have a needle-felted sugar glider that’s bound to impress. So gather your materials, let your creativity soar, and enjoy the delightful world of needle felting!

