How To Make Yogurt Melts In Dehydrator
Yogurt melts are a delicious and healthy snack that you can easily make in your dehydrator. These little treats are perfect for kids and adults alike, and they’re a great way to use up any leftover yogurt you may have. Making yogurt melts in a dehydrator is a simple process that requires just a few ingredients. In this article, we’ll walk you through the steps of making yogurt melts in a dehydrator, from preparing the yogurt mixture to drying the melts to perfection.
Preparing the Yogurt Mixture
The first step in making yogurt melts in a dehydrator is to prepare the yogurt mixture. Start by choosing your favorite type of yogurt and pour it into a bowl. You can use plain yogurt or mix in some fruit puree for added flavor. Once you have your yogurt ready, you can add in any additional ingredients you like, such as honey, vanilla extract, or even crushed cookies for a crunchy texture.
Spreading the Mixture on Dehydrator Trays
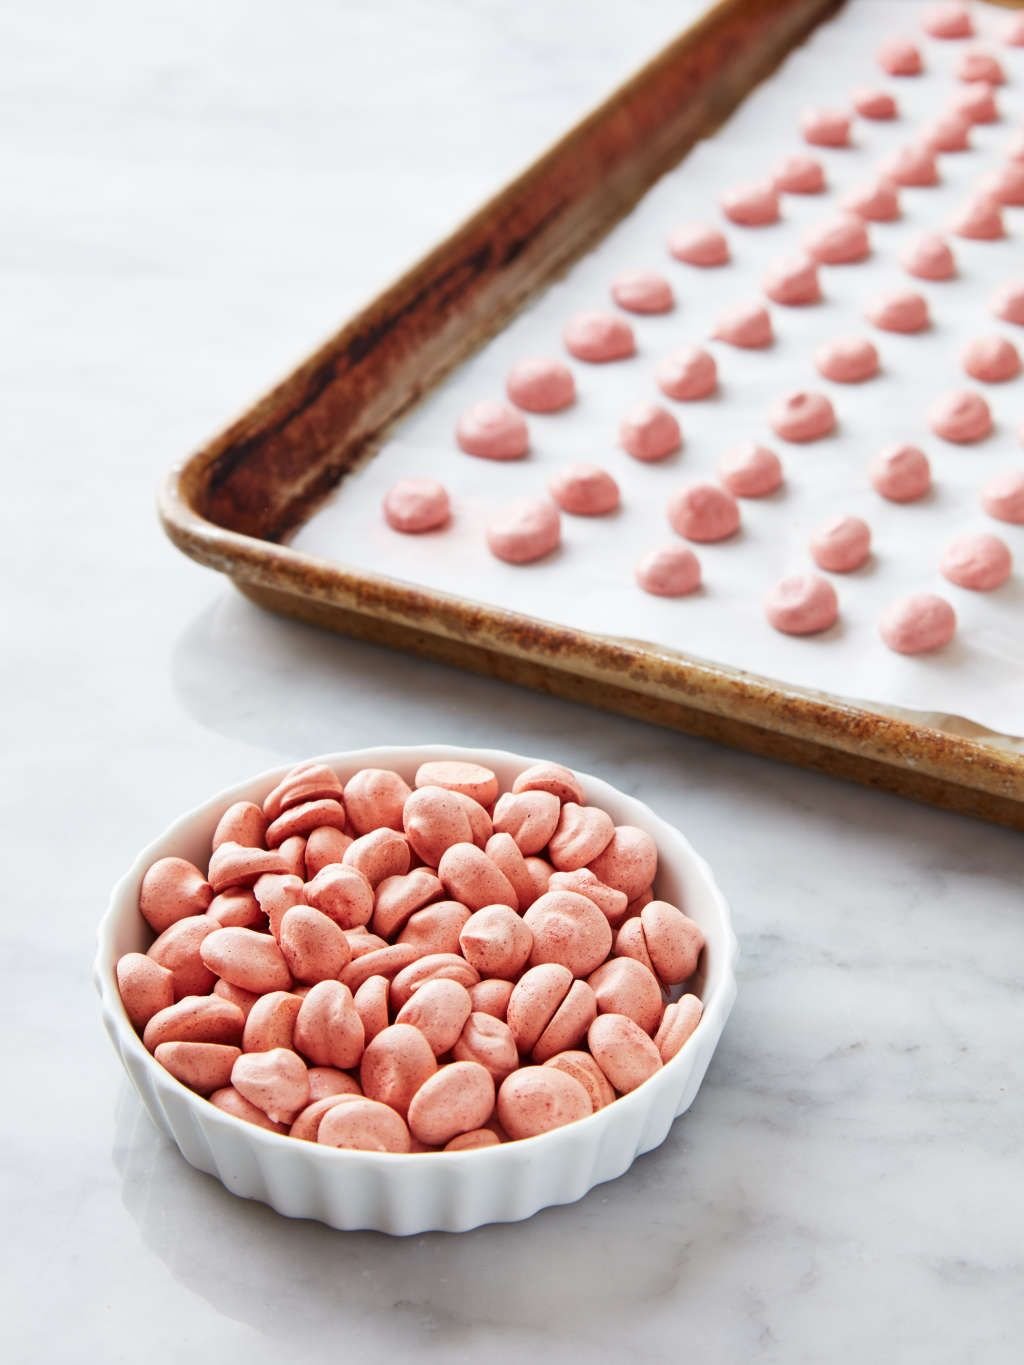
Next, you’ll need to spread the yogurt mixture onto dehydrator trays. Make sure to line the trays with non-stick sheets or parchment paper to prevent the mixture from sticking. Using a spoon or an offset spatula, spread the yogurt mixture evenly across the trays, making sure to create a thin layer. The thinner the layer, the faster the melts will dehydrate. If you prefer thicker melts, you can spread the mixture thicker, but keep in mind that they may take longer to dry.

Dehydrating the Yogurt Melts
Once you have spread the yogurt mixture onto the trays, place them in the dehydrator. Set the dehydrator to a low temperature, around 135°F (57°C), and let the melts dry for 6 to 8 hours. The drying time may vary depending on the thickness of the melts and the humidity in your environment, so keep an eye on them to prevent over-drying.
Checking for Doneness
After about 6 hours, start checking the yogurt melts for doneness. They should be dry to the touch and easily peel off the non-stick sheets or parchment paper. If they still feel sticky or wet, continue drying them for another hour or two. It’s important not to rush the drying process, as you want to ensure that the melts are completely dry to avoid any moisture that could lead to spoilage.
Storing and Serving Yogurt Melts
Once the yogurt melts are fully dry, remove them from the dehydrator and let them cool completely. Once cooled, you can break them into bite-sized pieces or cut them into fun shapes using cookie cutters. Store the yogurt melts in an airtight container at room temperature for up to two weeks. They make a great on-the-go snack or a tasty addition to your little one’s lunchbox.
Frequently Asked Questions
1: Can I make yogurt melts in an oven instead of a dehydrator?
While it’s possible to make yogurt melts in an oven, a dehydrator is more ideal. Dehydrators are specifically designed to remove moisture from food at low temperatures, which is key in making yogurt melts. Ovens may not provide the same level of temperature control, and the higher heat may cause the melts to brown or burn.
2: Can I use flavored yogurt instead of plain?
Yes, you can definitely use flavored yogurt instead of plain. Flavored yogurts can add an extra layer of taste to your melts. However, keep in mind that flavored yogurts often contain added sugars, so adjust the sweetness level accordingly when adding additional sweeteners.
3: Can I freeze the yogurt melts?
Yes, you can freeze yogurt melts for longer storage. Place them in a freezer-safe container or bag and store them in the freezer for up to three months. Thaw them at room temperature before serving.
Final Thoughts
Making yogurt melts in a dehydrator is a fun and easy way to enjoy a healthy snack. With just a few simple steps and a little bit of patience, you can create delicious yogurt melts that are bursting with flavor. Whether you’re making them for your kids or for yourself, these tasty treats are sure to be a hit. So why not give it a try and whip up a batch of homemade yogurt melts in your dehydrator today?


