Breeding Waxworms
Breeding Waxworms: The Ultimate Guide for Raising These Versatile Feeders
If you’re an avid reptile owner or breeder, you probably know the importance of providing a varied and nutritious diet for your scaly companions. One popular choice for reptile keepers as a feeder insect are waxworms. These plump and juicy larvae can be a valuable addition to your reptile’s menu, offering a high-fat content and a soft exoskeleton that makes for an easy meal. But instead of constantly purchasing waxworms, have you considered breeding them yourself? In this article, we’ll dive into the world of breeding waxworms, exploring their life cycle, the materials you’ll need, and some valuable tips for success.
Understanding the Life Cycle of Waxworms
Before getting into the nitty-gritty of breeding waxworms, it’s essential to understand their life cycle. Waxworms go through a complete metamorphosis, starting as eggs, transitioning into larvae, pupating, and finally emerging as adult moths. Here’s a step-by-step breakdown of their life cycle:
1. Eggs: Waxworm eggs are tiny, oval-shaped, and almost transparent. Female moths lay these eggs on the surface of their preferred food source, usually inside a wax comb or crevices in beehives.
2. Larvae: Once the eggs hatch, the waxworm larvae emerge. These larvae are creamy white in color with a soft and plump body. They have a voracious appetite and spend most of their time munching on their food source.
3. Pupation: As the larvae grow, they eventually reach their maximum size and enter the pupal stage. Pupae are generally round and brown, resembling a cocoon. During this stage, the waxworm wraps itself in a silk cocoon and undergoes internal transformation into an adult moth.
4. Adult Moth: After a certain period of time, the pupae mature and transform into adult moths. The moths have a golden-brown color with dark spots on their wings. They have a short lifespan, usually only a few days, during which they mate and lay eggs to start the cycle anew.
Materials You’ll Need for Breeding Waxworms
To successfully breed waxworms, you’ll need to gather some essential materials. Here’s a list of items you’ll need to set up your breeding operation:
1. Waxworm Starter Kit: Opt for a waxworm starter kit that includes waxworm larvae, pupae, and moths. This will give you a head start in establishing your breeding colony. Make sure the kit is from a reputable supplier to ensure the quality and health of the insects.
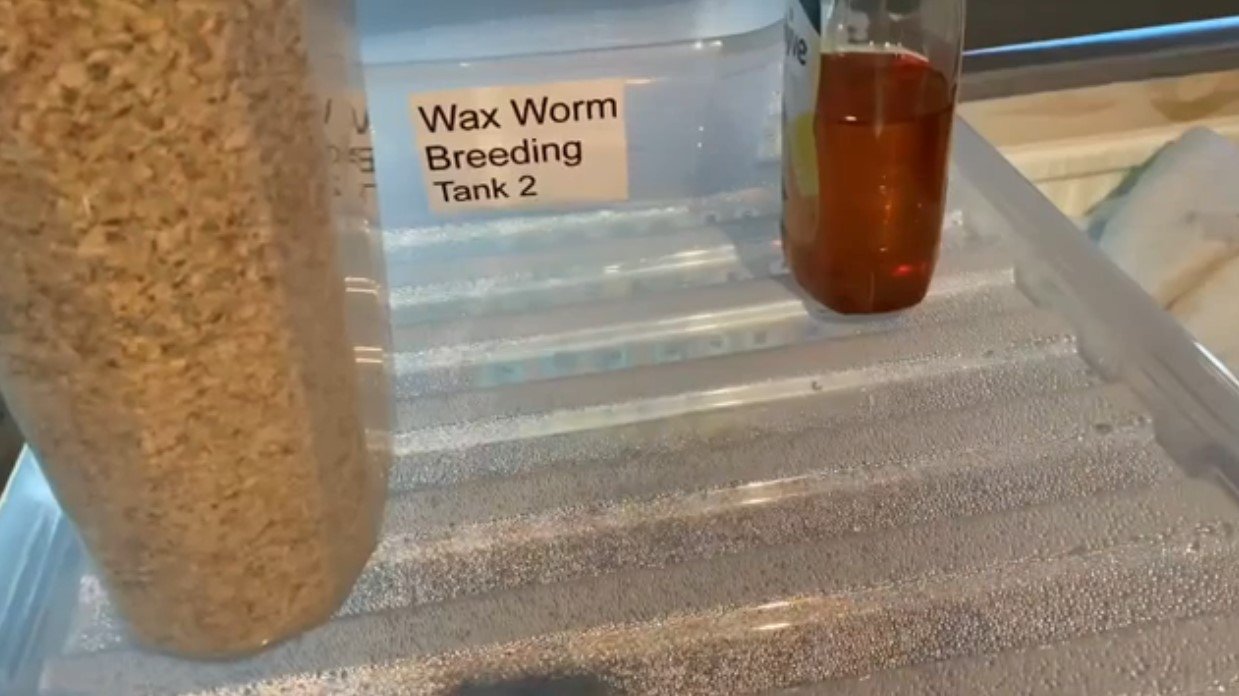
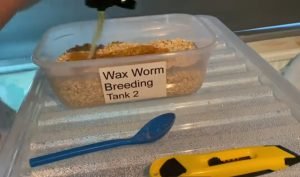
2. Containers: Get a few plastic containers with lids. You’ll need a container for each stage of the waxworm’s life cycle – eggs, larvae, pupae, and adults. Ensure the containers are well-ventilated and large enough to accommodate the growing larvae.
3. Substrate: Waxworms require a substrate for laying their eggs and pupating. Some commonly used substrates include wheat bran, oatmeal, and even crumpled paper towels. Choose a substrate that is soft, absorbent, and free from chemicals.
4. Food Source: Waxworms primarily feed on beeswax and honeycomb in the wild. To mimic their natural diet, you can provide them with chunks of beeswax or small pieces of honeycomb. Alternatively, you can also feed them a commercial waxworm diet available at pet stores.
5. Temperature and Humidity Control: Waxworms thrive in warm and humid environments, so it’s crucial to maintain the right conditions. Consider using a heat mat or lamp to provide consistent warmth, and use a hygrometer to monitor and adjust the humidity levels in the breeding containers.
Tips for Successful Waxworm Breeding
Breeding waxworms can be a rewarding endeavor, but it does require attention to detail and proper care. Here are some valuable tips to ensure your waxworm breeding efforts are successful:
1. Quality Starter Culture: Begin with a healthy starter culture from a trusted supplier. The quality of your initial worms will greatly impact the overall success of your breeding operation.
2. Separate Containers: Each stage of the waxworm’s life cycle should have its own separate container. This prevents cross-contamination, making it easier to manage the different growth stages.
3. Optimal Conditions: Maintain a stable temperature between 75-85°F (24-29°C) and a humidity level of 60-70%. These conditions will help the worms grow and develop without any issues.
4. Proper Feeding: Offer waxworms their preferred food source regularly. Remember to replace it when it becomes mouldy or soiled, ensuring a clean and hygienic environment for the worms.
5. Regular Cleaning: Clean the containers regularly to remove any waste or uneaten food. This helps maintain a healthy environment and prevents the growth of bacteria or fungi.
6. Careful Handling: Be gentle while handling the waxworms, as they are delicate creatures. Avoid rough movements or excessive vibrations that can stress or harm them.
7. Monitoring: Keep a close eye on the development of your waxworms. Look out for signs of disease, infestation, or cannibalism within the colony. Taking prompt action can prevent the spread of issues and protect your breeding stock.
8. Harvesting and Storage: Harvest mature larvae and pupae as they reach their maximum size. Store them in a separate container with fresh food until it’s time to offer them to your reptiles or sell them.
9. Expand Your Colony: As you successfully breed waxworms, consider expanding your colony to increase your supply. With adequate care and attention, your colony can become self-sustaining, reducing the need to purchase waxworms frequently.
Frequently Asked Questions
1: How long does it take for waxworms to pupate?
The time it takes for waxworms to pupate can vary depending on the temperature and quality of care. On average, it takes approximately 2-4 weeks for waxworm larvae to pupate.
2: Can I use other insects as a food source for waxworms?
Waxworms have developed a highly specialized diet, primarily consisting of beeswax and honeycomb. While they may consume other substances, such as certain fruits or vegetables, it’s best to provide them with their preferred food source to ensure their optimal health and growth.
3: Are waxworms suitable for all reptiles?
Waxworms can be suitable for many reptiles, especially those that require a high-fat content in their diet. However, it’s essential to consider the specific nutritional needs of your reptile and consult with a veterinarian or reptile specialist to ensure you’re offering a well-balanced diet.
Final Thoughts
Breeding waxworms can be an enjoyable and cost-effective way to provide your reptiles with a nutritious food source. With the right materials, proper care, and attention to detail, you can establish a thriving waxworm colony that will keep your reptiles happy and healthy. Remember, patience is key, as it may take some time to perfect your breeding techniques. So, roll up your sleeves, gather your supplies, and dive into the fascinating world of waxworm breeding!