How To Freeze Sugar Glider Food
Are you a sugar glider owner looking for ways to preserve your furry friend’s food? Freezing sugar glider food is a great option to extend the shelf life of fresh ingredients, minimize waste, and keep your pet’s diet balanced. In this article, we will guide you through the process of freezing sugar glider food step by step, ensuring that your little buddy gets the best nutrition possible.
Why should you freeze sugar glider food?
Freezing sugar glider food offers several benefits. First and foremost, it helps to preserve the nutritional content of fresh ingredients. Freezing slows down the degradation of vitamins and minerals, ensuring that your glider receives adequate nutrition even when consuming frozen food.
Additionally, freezing is a convenient way to minimize waste. It allows you to prepare larger batches of food and store them for future use. This is particularly useful if you have a busy schedule or if you want to ensure that your glider’s diet remains consistent when you are away.
Moreover, freezing can help balance your sugar glider’s diet. By freezing a variety of fruits, vegetables, and protein sources, you can ensure that your glider receives a diverse range of nutrients. This is important for their overall health and well-being.
Now that we understand the benefits of freezing sugar glider food, let’s dive into the process step by step.
Step 1: Gather the Ingredients
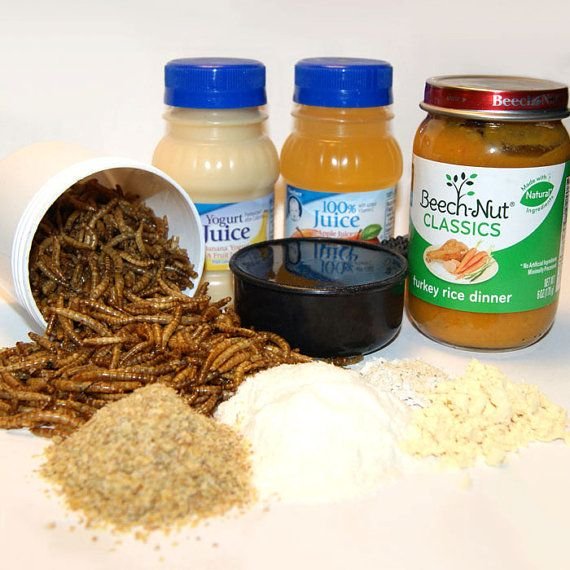
The first step is to gather all the ingredients you want to freeze. Remember, sugar gliders have specific dietary requirements, so it’s important to choose ingredients that are safe and healthy for them. Consult with an experienced sugar glider owner or veterinarian if you’re unsure about any particular food item.
Step 2: Prepare and Portion the Ingredients
Once you have your ingredients, it’s time to prepare and portion them. This step involves cutting or chopping fruits and vegetables into small, bite-sized pieces. It’s important to remove any seeds or pits that could be harmful to your sugar glider.
Next, portion the ingredients into appropriate serving sizes. Consider your sugar glider’s age, size, and dietary needs when determining portion sizes. Smaller portions are ideal as they can thaw faster and reduce the risk of food going to waste.
Step 3: Packaging and Freezing
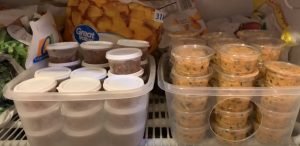
After preparing and portioning the ingredients, it’s time to package them for freezing. There are a few options to consider:
1. Ziplock bags: Place the portioned ingredients in airtight ziplock bags. Remove as much air as possible before sealing the bag to prevent freezer burn.
2. Ice cube trays: If you prefer smaller, individual servings, you can use ice cube trays. Fill each compartment with the portioned ingredients and cover with plastic wrap. Once frozen, transfer the cubes to a ziplock bag for easier storage.
3. Freezer-safe containers: Alternatively, you can use freezer-safe containers to store the ingredients. Make sure the containers are airtight to maintain the quality of the food.
Step 4: Label and Date
To avoid confusion, label each bag or container with the contents and the date of freezing. This will help you keep track of the freshness of the food and ensure that you rotate the oldest items first.
Step 5: Freezing and Thawing
Now that your sugar glider food is properly packaged, it’s time to place it in the freezer. Make sure your freezer is set to the proper temperature (around 0°F or -18°C) to maintain the quality of the food.
When it comes time to feed your sugar glider, simply remove the desired portion from the freezer and thaw it in the refrigerator. Avoid thawing the food at room temperature, as this can promote bacterial growth and lead to foodborne illnesses.
Frequently Asked Questions
Q: Can I freeze live insects for my sugar gliders?
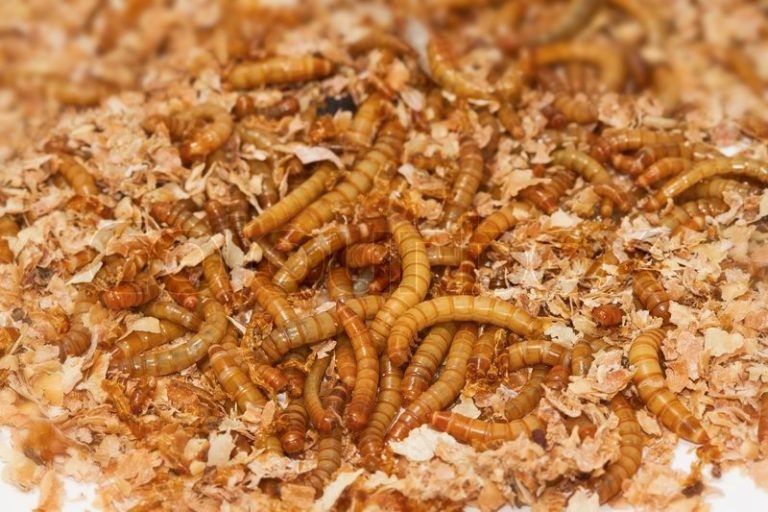
While it is possible to freeze live insects such as mealworms or crickets, it is not recommended. Freezing can alter the texture and nutritional content of insects, making them less beneficial for your sugar glider. It’s best to provide live insects as a fresh food source.
Q: How long can I store frozen sugar glider food?
Frozen sugar glider food can be safely stored for up to six months. However, to ensure optimal freshness and nutritional content, it’s best to use the food within three months.
Q: Can I freeze homemade sugar glider diets?
Yes, homemade sugar glider diets can be frozen. Just make sure to follow the same preparation and packaging steps mentioned earlier. Remember to use proper portions to avoid unnecessary waste.
Final Thoughts
Freezing sugar glider food is a simple yet effective way to ensure that your furry friend receives a balanced diet and reduce waste. By following the steps outlined in this article, you can confidently freeze a variety of fruits, vegetables, and protein sources for your sugar glider. Remember to always prioritize their health and consult with an expert if you have any concerns about their dietary needs. So go ahead, stock up on glider-friendly ingredients, and prepare a freezer full of nutritious meals for your sugar glider companion.

