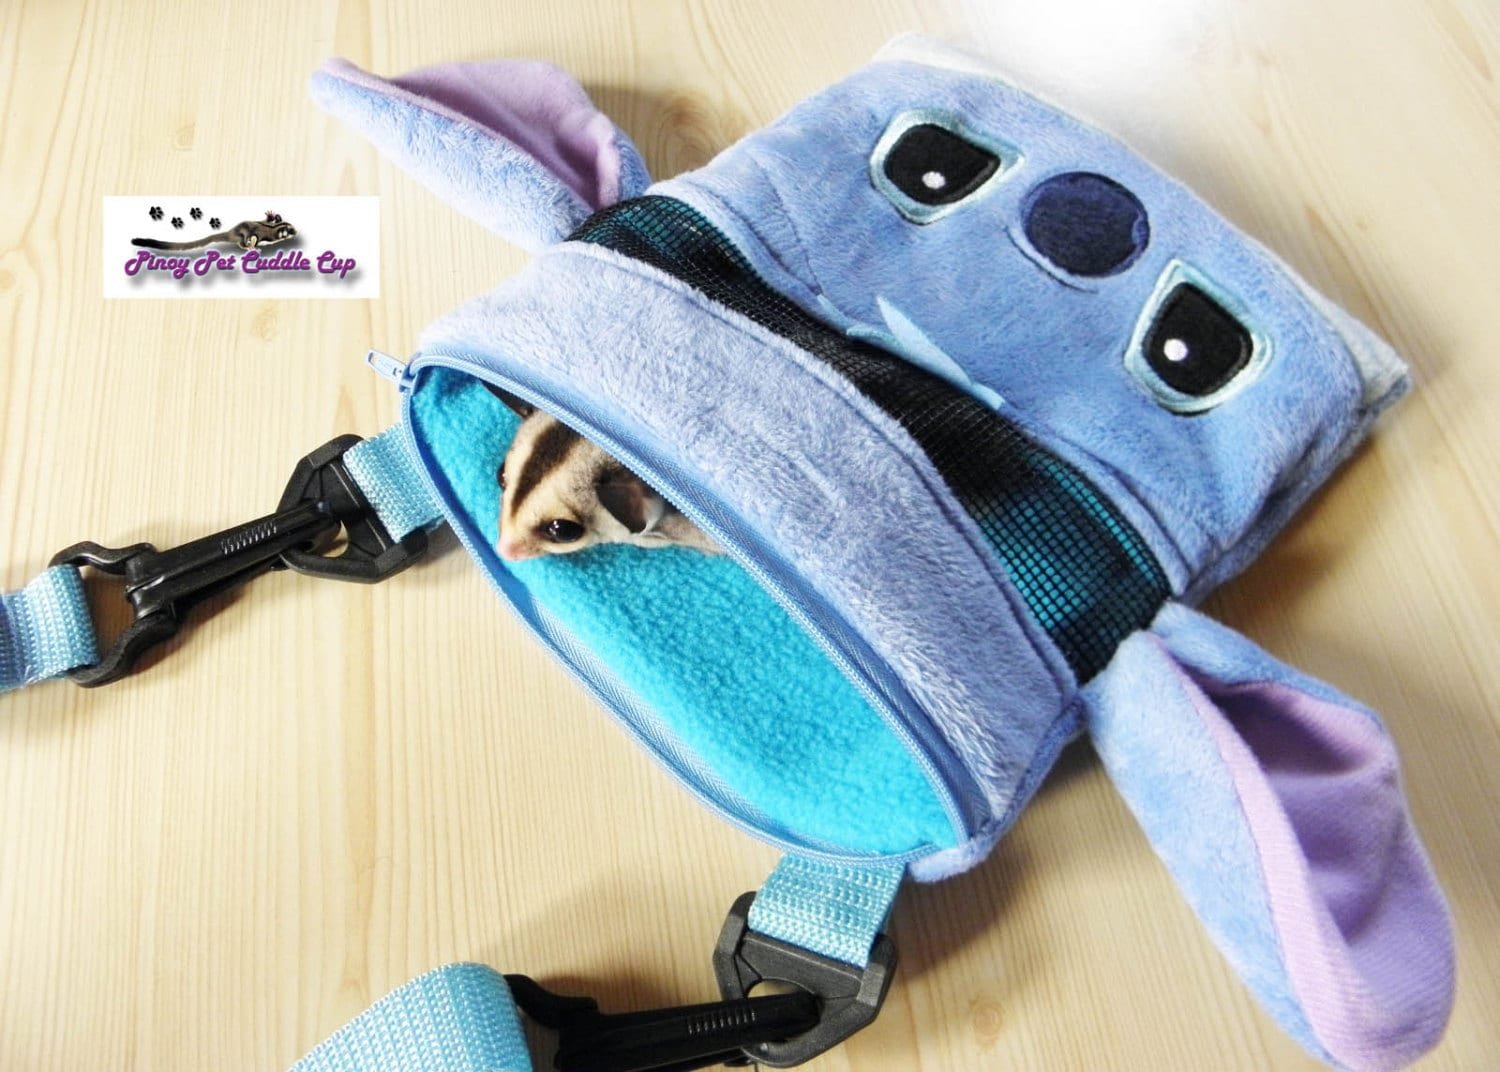
How To Make A Sugar Glider Bonding Pouch
How to Make a Sugar Glider Bonding Pouch
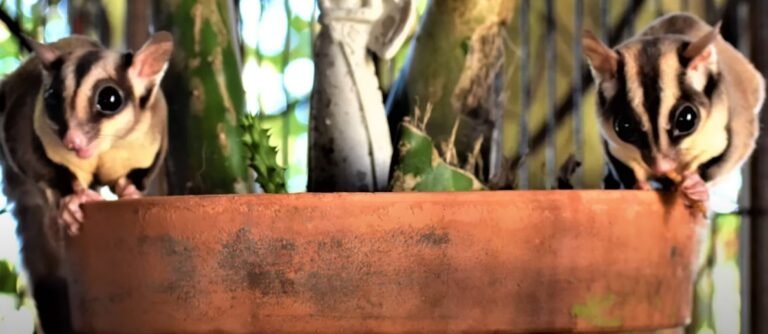
If you’re a proud sugar glider owner, you know that these tiny marsupials need lots of love and attention to thrive. One way to strengthen the bond between you and your adventurous gliders is by making a bonding pouch. A bonding pouch provides a safe and comfortable space for your sugar gliders to snuggle up close to you, allowing them to form a strong bond and develop trust. In this article, we’ll guide you through the process of making a sugar glider bonding pouch, step by step.
Before we dive into the details, let’s quickly cover the reasons why a bonding pouch is beneficial for your sugar gliders:
1. Promotes Bonding: A bonding pouch allows you to stay close to your gliders, which is important for building trust and fostering a strong bond.
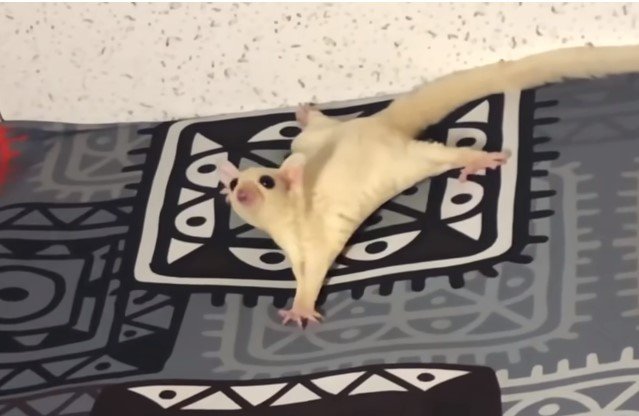
2. Creates a Safe Space: Sugar gliders feel secure when they have a cozy space to retreat to. A bonding pouch provides a familiar and safe environment for them.
3. Provides Warmth: Sugar gliders are native to warm regions, and they prefer temperatures between 70 to 80 degrees Fahrenheit. A bonding pouch can help maintain the ideal temperature for your gliders.
Now that you understand the significance of a bonding pouch, let’s move on to making one. Here’s a simple step-by-step guide:
Materials Needed
Gathering the necessary materials is the first step in making a bonding pouch for your sugar gliders. Here’s a list of items you’ll need:
1. Soft, non-pill fleece fabric
2. Sewing machine or needle and thread
3. Scissors
4. Measuring tape
5. Safety pins
6. Velcro or snap buttons for closures
Step-by-Step Instructions
1. Measure and Cut the Fabric
Start by measuring your sugar glider’s body length from nose to tail. Add a few inches to this measurement for the pouch length. Keep in mind that the pouch should be big enough for your glider to move around comfortably. Trace a rectangle on the fleece fabric with these dimensions and cut it out.
2. Sew the Sides
Fold the fabric in half, with the right sides facing each other. Use safety pins or clips to secure the sides. If you’re using a sewing machine, sew along the sides, leaving the top open. If you’re hand-sewing, use a blanket stitch or running stitch to join the sides together.
3. Create the Pouch Opening
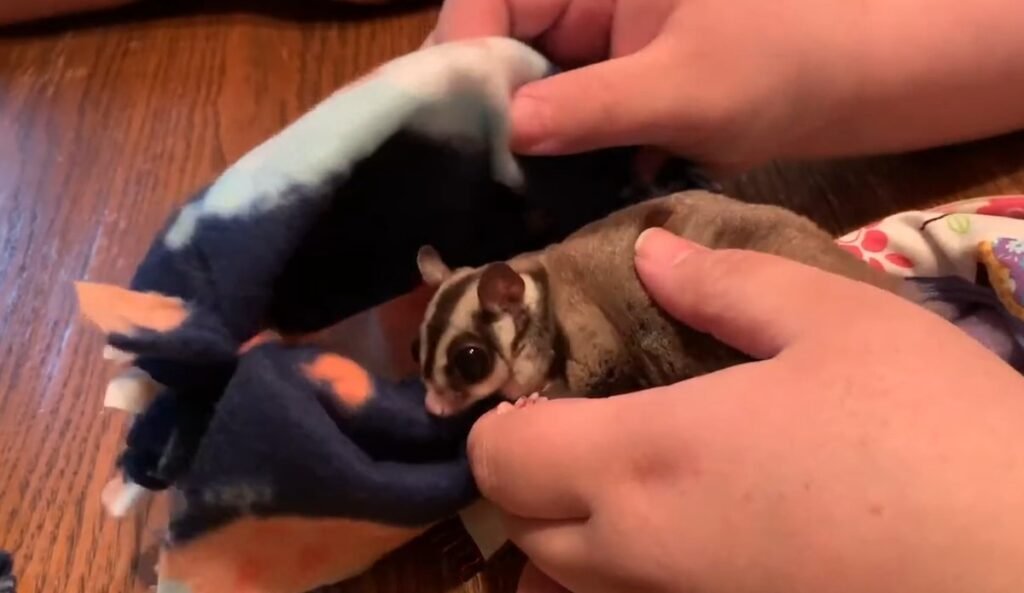
On one side of the pouch, about one-third of the way from the top, cut a half-moon shape. This will serve as the opening for your sugar gliders to enter and exit the pouch. Be sure to make the opening large enough for them to comfortably crawl through.
4. Add the Closure
To secure the pouch while your sugar gliders are inside, add a closure mechanism at the top. You can either use Velcro or sew on snap buttons. Ensure that the closure is secure to prevent any accidental openings.
5. Finishing Touches
Trim any excess fabric, and give the pouch a thorough inspection to make sure the seams are secure. You can also add decorative touches, such as embroidered designs or patches, to personalize the bonding pouch.
And there you have it—a homemade bonding pouch for your sugar gliders! Make sure to wash the pouch regularly to keep it clean and hygienic.
Frequently Asked Questions
1. How often should I wash the bonding pouch?
It’s best to wash the bonding pouch at least once a week to maintain cleanliness and prevent the buildup of bacteria. Remember to remove any excess debris or droppings before washing.
2. Can I use any fabric for the bonding pouch?
While fleece fabric is the most commonly used material for bonding pouches due to its softness and breathability, you can also use other natural fabrics like cotton. Just make sure to avoid fabrics with loose threads or easily frayed edges.
3. Are there any safety precautions I should take with the bonding pouch?
When making a bonding pouch, ensure that all closures are secure and won’t accidentally open. Additionally, regularly check the pouch for any signs of wear and tear and replace it if necessary. Always prioritize the safety and comfort of your sugar gliders.
Final Thoughts
Creating a bonding pouch for your sugar gliders is a wonderful way to strengthen your bond with these curious creatures. The process is simple, and with a little bit of effort, you can provide your gliders with a cozy and secure space. Remember, patience and consistency are key when it comes to bonding with sugar gliders. So, grab your sewing materials and get ready to enjoy many snuggles with your furry friends!